Thinking about getting started with a Truckspy ELD or Dash Cam? Or maybe you’ve already purchased one, and you’d like to install it yourself? We’re here to show you just how the install process works.
Below are brief, step-by-step instructions on how to install your dash cam and ELD. Check out the above video to see for yourself how it all goes together.
Disclaimer: Please note that the exact installation steps for your vehicle may vary. The following steps provide a general overview of how the process works.
What’s Included:
- Wiring Harness (connects to OBD2 port)
- Charger/ Power Brick for Camera
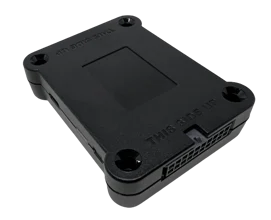
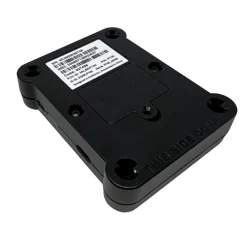
- ELD
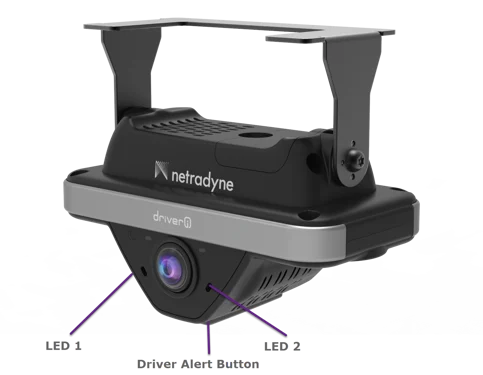
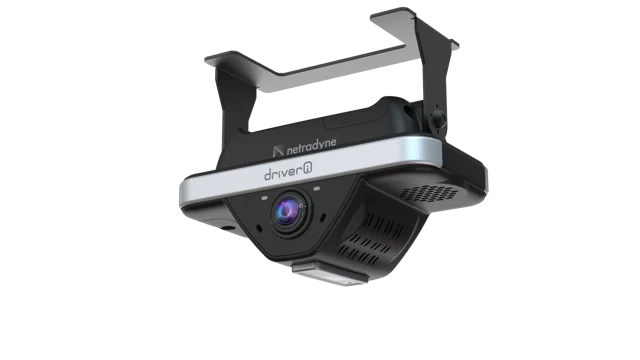
- Camera
- Data Signal Box
- Bracket for OBD2 plug (if needed)
- Zip ties
What You’ll Need:
- Flathead screwdriver or pry bar
- Ratchet with 10mm socket
- Torx T20 Security screwdriver
- Flashlight
- Heat gun or adhesion promoter (optional, mostly needed in cold weather)
Step 1:
Remove plastic cover from A-pillar. Use your pry bar, then unscrew bolts.
Step 2:
Unscrew bolts on camera to adjust the mount.
Step 3:
Wipe the inside of the windshield clean.
If it’s cold outside, heat up the glass using a heat gun or adhesion promoter.
Step 4:
Peel off the double-sided tape from the camera mount and position camera on the inside of the windshield.
Some tips to keep in mind when positioning your camera:
- Make sure LEDS on camera are facing the driver
- Make sure the camera is in the path of your windshield wipers (this ensures the camera’s view will always be clear, even in bad weather)
- Center your camera and make sure it isn’t so low that it blocks your view.
Step 5:
Tuck the camera’s wire into the headliner, then zip tie to factory wiring behind the A-Pillar.
Step 6:
Mount the Data Signal Box on or under the dash, tape side down.
This is how you get cell reception for your camera, so on top of the dash is recommended to ensure the best reception.
Once the signal box has been placed, feed wire down through the dash.
Step 7:
Connect the two white plugs found on your wiring harness.
The other end will connect to the wire that was fed down through the dash in Step 6.
Step 8:
Mount your ELD on or under the dash. The higher it can be mounted, the better, to ensure the best reception.
Step 9:
Make sure all wires are secured.
Be careful when zip tying your wires not to zip tie them to the e-brake or hood release.
We also recommend removing the lower dash panel or steering column panel (if possible) for ease of access.
Step 10:
Login to your Truckspy account to check your connection.
LEDs on your ELD and Dash Cam should indicate that everything is working.